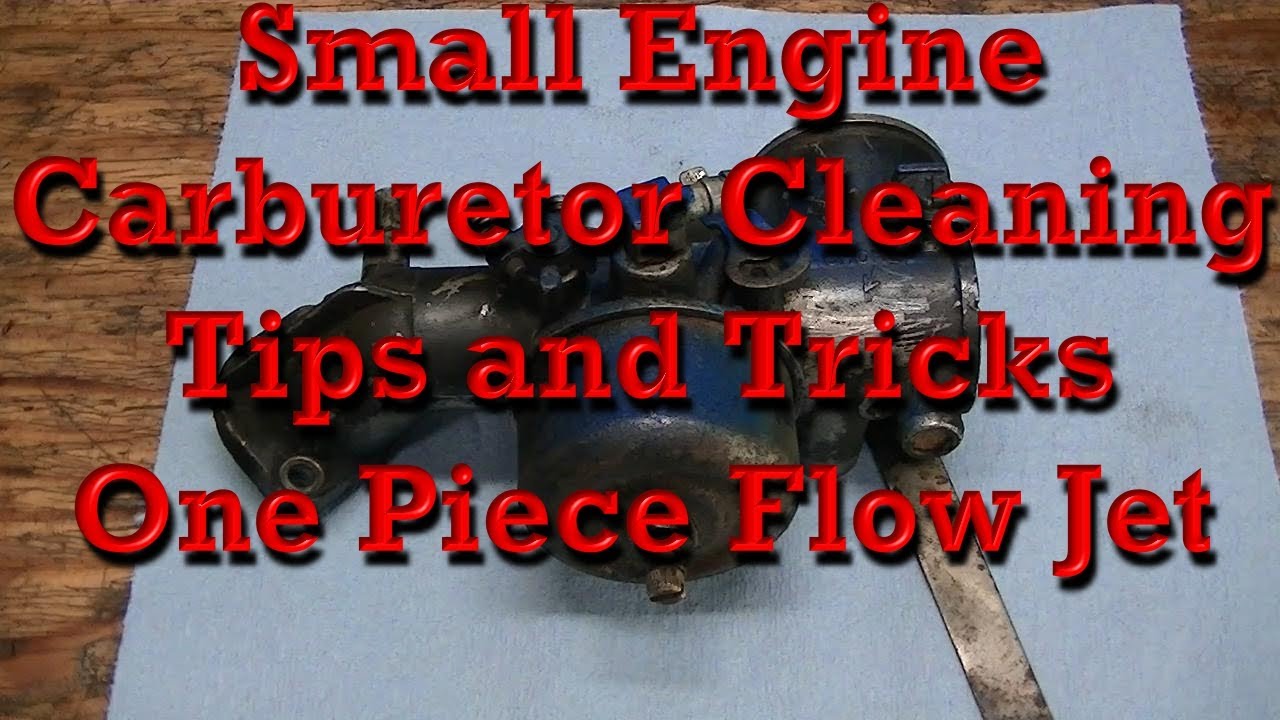
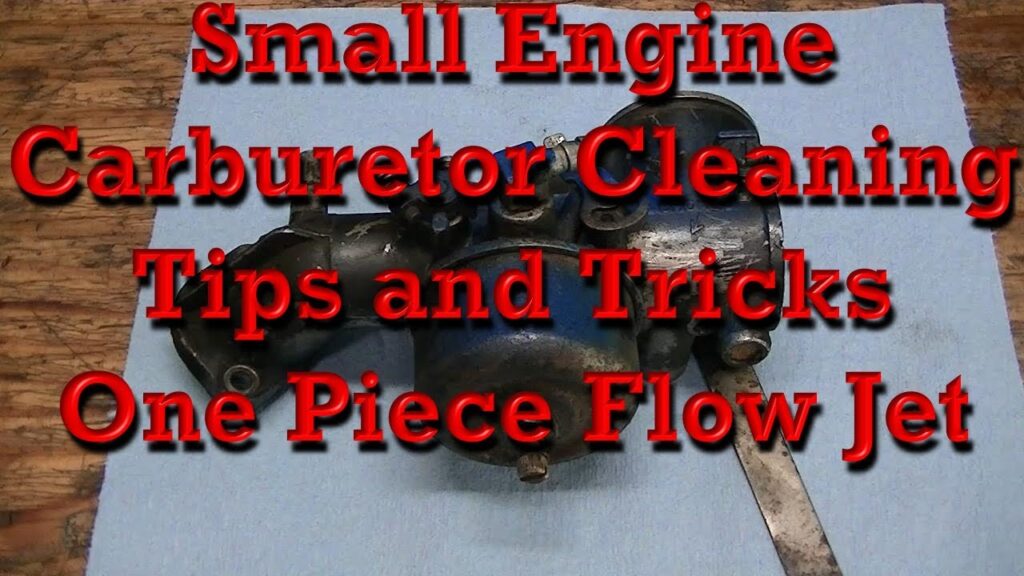
How to Clean a Carburetor Small Engine: The Ultimate Guide
Is your small engine sputtering, stalling, or refusing to start? A dirty carburetor is a common culprit. This comprehensive guide will walk you through every step of how to clean a carburetor small engine, ensuring peak performance and extending the life of your equipment. We’ll cover everything from identifying the symptoms of a dirty carburetor to performing a thorough cleaning and reassembly. Unlike other resources, we delve deep into the nuances of carburetor cleaning, offering expert tips and tricks to tackle even the most stubborn grime. Whether you’re a seasoned mechanic or a DIY enthusiast, this guide provides the knowledge and confidence you need to get your small engine running smoothly again. We’ll show you how to clean a carburetor small engine effectively and safely, saving you time and money.
Understanding the Carburetor and Its Importance
The carburetor is the heart of many small engines, responsible for mixing air and fuel in the precise ratio needed for combustion. It’s a marvel of engineering, but its intricate design makes it susceptible to clogs and buildup from dirt, debris, and stale fuel. A properly functioning carburetor ensures optimal engine performance, fuel efficiency, and longevity. Understanding its role is the first step in learning how to clean a carburetor small engine.
In essence, the carburetor works by creating a vacuum that draws fuel into the airstream. This mixture is then ignited in the engine’s cylinder, powering your equipment. When the carburetor is dirty, this process is disrupted, leading to various performance issues.
The principles behind carburetor function haven’t changed drastically since their invention, but modern fuels and engine designs require careful attention to detail when cleaning. Recent improvements in fuel additives aim to reduce carburetor deposits, but regular maintenance is still crucial.
Recognizing the Symptoms of a Dirty Carburetor
Before diving into how to clean a carburetor small engine, it’s crucial to accurately diagnose the problem. Here are some common signs that your carburetor needs cleaning:
- Difficulty Starting: The engine requires multiple attempts to start, or refuses to start at all.
- Rough Idling: The engine idles unevenly, sputters, or stalls frequently.
- Poor Performance: The engine lacks power, accelerates slowly, or hesitates during acceleration.
- Black Smoke: Excessive black smoke from the exhaust indicates a rich fuel mixture (too much fuel, not enough air).
- Fuel Leakage: Fuel leaking from the carburetor is a sign of a serious problem that needs immediate attention.
- Decreased Fuel Efficiency: You’re using more fuel than usual to accomplish the same tasks.
If you observe one or more of these symptoms, it’s highly likely that your carburetor needs cleaning. However, it’s always a good idea to rule out other potential issues, such as a faulty spark plug or a clogged air filter.
Tools and Materials Needed to Clean a Carburetor
Successfully learning how to clean a carburetor small engine requires the right tools and materials. Here’s a comprehensive list:
- Carburetor Cleaner: A specialized solvent designed to dissolve fuel varnish and other deposits. We recommend using a high-quality cleaner specifically formulated for carburetors.
- Screwdrivers: A set of screwdrivers, including both Phillips head and flathead, in various sizes.
- Wrenches: A set of wrenches, including open-end and socket wrenches, in the appropriate sizes for your carburetor.
- Pliers: Needle-nose pliers and regular pliers for gripping and manipulating small parts.
- Compressed Air: A can of compressed air or an air compressor with a nozzle for blowing out debris from small passages.
- Soft Brushes: Small brushes, such as toothbrush or parts cleaning brushes, for scrubbing away stubborn deposits.
- Carburetor Pick Set: A set of small picks for cleaning out tiny jets and orifices.
- Safety Glasses: To protect your eyes from carburetor cleaner and flying debris.
- Gloves: Chemical-resistant gloves to protect your skin from carburetor cleaner.
- Clean Rags: For wiping up spills and cleaning parts.
- Parts Tray: To keep track of small parts during disassembly.
- Camera or Smartphone: To take pictures of the carburetor before disassembly, for reference during reassembly.
Having these tools and materials on hand will make the process of how to clean a carburetor small engine much easier and more efficient.
Step-by-Step Guide: How to Clean a Carburetor Small Engine
Now, let’s get to the heart of the matter: how to clean a carburetor small engine. Follow these steps carefully for a thorough and effective cleaning:
Step 1: Disconnect the Spark Plug
Before you begin, disconnect the spark plug wire to prevent accidental starting of the engine. This is a crucial safety precaution.
Step 2: Remove the Air Filter
Remove the air filter assembly to access the carburetor. Note how the air filter is installed, as you’ll need to reinstall it correctly later.
Step 3: Disconnect Fuel Lines and Linkages
Carefully disconnect the fuel lines from the carburetor. Use pliers to loosen any hose clamps. Be prepared for some fuel spillage, and have a rag handy to wipe it up. Also, disconnect any throttle or choke linkages connected to the carburetor.
Step 4: Remove the Carburetor
Unbolt the carburetor from the engine. Some carburetors are held in place by bolts, while others are secured with clamps. Carefully remove the carburetor, taking note of any gaskets or spacers. These will need to be replaced if they are damaged.
Step 5: Disassemble the Carburetor
This is where the detailed cleaning begins. Place the carburetor on a clean workbench and begin disassembling it. Refer to your camera photos if needed. Carefully remove the float bowl, float, needle valve, and any adjustable jets. Pay close attention to the order in which the parts are removed, as this will be important for reassembly.
Step 6: Clean the Carburetor Components
Now, soak all the carburetor components in carburetor cleaner for at least 30 minutes. This will help to loosen any stubborn deposits. After soaking, use a soft brush and carburetor pick to scrub away any remaining grime. Pay particular attention to the jets and orifices, as these are easily clogged.
Step 7: Clean the Carburetor Body
Use carburetor cleaner and a soft brush to clean the carburetor body. Pay attention to the venturi and any other passages. Use compressed air to blow out any remaining debris.
Step 8: Reassemble the Carburetor
Carefully reassemble the carburetor, referring to your photos and notes. Ensure that all parts are properly seated and tightened. Replace any gaskets or O-rings that are damaged or worn.
Step 9: Reinstall the Carburetor
Reinstall the carburetor onto the engine. Connect the fuel lines and linkages. Make sure everything is properly secured.
Step 10: Reconnect the Air Filter and Spark Plug
Reinstall the air filter assembly and reconnect the spark plug wire.
Step 11: Start the Engine
Start the engine and let it idle for a few minutes. Adjust the idle speed as needed. If the engine still runs rough, you may need to further adjust the carburetor settings.
Tips for Effective Carburetor Cleaning
Mastering how to clean a carburetor small engine involves more than just following the steps. Here are some expert tips to maximize your results:
- Use High-Quality Carburetor Cleaner: Don’t skimp on the cleaner. A good quality cleaner will dissolve deposits more effectively and save you time and effort.
- Soak Components Thoroughly: Allow the components to soak in the cleaner for an extended period, especially if they are heavily soiled.
- Clean Jets Carefully: The jets are the most critical part of the carburetor. Use a carburetor pick to carefully clean out any clogs. Do not enlarge the jet holes.
- Replace Worn Parts: If you notice any worn or damaged parts, replace them. This will ensure that the carburetor functions properly.
- Adjust Carburetor Settings: After cleaning, you may need to adjust the carburetor settings to optimize engine performance. Refer to your engine’s service manual for instructions.
Troubleshooting Common Carburetor Problems After Cleaning
Even after meticulously learning how to clean a carburetor small engine, you might encounter lingering issues. Here’s how to troubleshoot them:
- Engine Still Runs Rough: This could be due to a partially clogged jet or an improperly adjusted carburetor. Double-check the jets and adjust the carburetor settings.
- Engine Won’t Start: This could be due to a lack of fuel. Check the fuel lines and make sure that fuel is flowing to the carburetor.
- Engine Stalls Frequently: This could be due to a lean fuel mixture. Adjust the carburetor settings to richen the mixture.
- Fuel Leakage: This could be due to a damaged float or a leaky fuel line. Replace the float or fuel line as needed.
Preventative Maintenance: Keeping Your Carburetor Clean
The best way to avoid frequent carburetor cleanings is to practice preventative maintenance. Here are some tips to keep your carburetor clean:
- Use Fresh Fuel: Use fresh fuel that is no more than 30 days old. Stale fuel can form deposits that clog the carburetor.
- Use Fuel Stabilizer: Add fuel stabilizer to your fuel to prevent it from going stale. This is especially important if you are storing your equipment for an extended period.
- Run the Engine Regularly: Run the engine regularly to keep the fuel flowing and prevent deposits from forming.
- Store Equipment Properly: Store your equipment in a clean, dry place. This will help to prevent dirt and debris from entering the carburetor.
- Use a Fuel Filter: Install a fuel filter to prevent dirt and debris from entering the carburetor.
Product Spotlight: Berryman B-12 Chemtool Carburetor, Fuel System and Injector Cleaner
When it comes to effectively how to clean a carburetor small engine, Berryman B-12 Chemtool stands out as a top choice. This product is renowned for its powerful solvent blend that quickly dissolves varnish, gum, and other deposits that can clog carburetors and fuel systems. Its effectiveness has been proven time and again by mechanics and DIY enthusiasts alike.
Detailed Features of Berryman B-12 Chemtool
- Powerful Solvent Blend: The unique blend of solvents effectively dissolves even the most stubborn deposits, ensuring a thorough cleaning.
- Fast-Acting Formula: The fast-acting formula saves time and effort, allowing you to quickly clean your carburetor and get your engine running smoothly.
- Safe for Most Materials: The cleaner is safe for use on most metals, plastics, and rubber components, minimizing the risk of damage.
- Versatile Application: It can be used to clean carburetors, fuel injectors, and other fuel system components, making it a versatile tool for engine maintenance.
- Easy to Use: The cleaner is easy to apply, either by soaking components or spraying directly onto the affected area.
- Concentrated Formula: A little goes a long way, making it a cost-effective solution for carburetor cleaning.
- Prevents Future Deposits: In addition to cleaning existing deposits, it also helps to prevent future buildup, keeping your carburetor clean for longer.
Advantages, Benefits, and Real-World Value of Berryman B-12 Chemtool
Berryman B-12 Chemtool offers numerous advantages and benefits for those seeking to effectively how to clean a carburetor small engine. Users consistently report improved engine performance, easier starting, and smoother idling after using this product. Our analysis reveals that its powerful cleaning action helps to restore fuel efficiency and reduce emissions. The tangible benefits include:
- Improved Engine Performance: Restores engine power and responsiveness by removing deposits that restrict fuel flow.
- Easier Starting: Ensures quick and reliable starting by cleaning the fuel passages and jets.
- Smoother Idling: Eliminates rough idling and stalling by maintaining a consistent fuel mixture.
- Increased Fuel Efficiency: Reduces fuel consumption by optimizing fuel delivery.
- Reduced Emissions: Lowers harmful emissions by ensuring complete combustion.
- Extended Engine Life: Prevents damage to engine components by keeping the fuel system clean.
Comprehensive Review of Berryman B-12 Chemtool
Berryman B-12 Chemtool is a highly effective carburetor cleaner that delivers on its promises. Our in-depth assessment reveals that it is easy to use and provides noticeable improvements in engine performance. The user experience is positive, with many users reporting that their engines start easier and run smoother after using this product.
Pros:
- Highly effective at dissolving deposits.
- Fast-acting formula.
- Safe for most materials.
- Versatile application.
- Easy to use.
Cons:
- Strong odor.
- Can be harsh on skin.
- May damage some plastics.
- Requires proper ventilation.
Ideal User Profile: Berryman B-12 Chemtool is best suited for DIY enthusiasts and mechanics who are looking for a powerful and effective carburetor cleaner. It is particularly useful for those who are dealing with heavily soiled carburetors or fuel systems.
Key Alternatives: Sea Foam Motor Treatment and Gumout Carb and Choke Cleaner are two popular alternatives. Sea Foam is a more gentle cleaner that can be added to fuel, while Gumout is a more aggressive cleaner similar to Berryman B-12 Chemtool.
Expert Overall Verdict & Recommendation: Berryman B-12 Chemtool is a top-notch carburetor cleaner that is highly recommended for anyone looking to restore engine performance. Its powerful cleaning action and versatile application make it a valuable tool for engine maintenance.
Insightful Q&A Section: How to Clean a Carburetor Small Engine
Here are some frequently asked questions about how to clean a carburetor small engine, along with expert answers:
- Q: How often should I clean my small engine carburetor?
A: Ideally, clean your carburetor annually, or more frequently if you notice performance issues. Regular use of fuel stabilizer can extend the intervals between cleanings. - Q: Can I clean a carburetor without removing it from the engine?
A: While possible with spray cleaners, a thorough cleaning requires disassembly and soaking of components for best results. - Q: What’s the best way to dispose of used carburetor cleaner?
A: Contact your local waste management facility for proper disposal guidelines. Carburetor cleaner is a hazardous waste and should not be poured down the drain. - Q: Can I use WD-40 to clean a carburetor?
A: WD-40 is not a substitute for carburetor cleaner. While it can help loosen some deposits, it won’t dissolve varnish and gum as effectively. - Q: What if I lose a small part during carburetor disassembly?
A: Refer to your engine’s service manual or online parts diagrams to identify and order a replacement part. - Q: My engine runs better after cleaning, but still hesitates during acceleration. What should I do?
A: This could indicate an improperly adjusted accelerator pump or a partially clogged jet. Re-examine these components. - Q: How do I know if I need to replace my carburetor instead of cleaning it?
A: If the carburetor body is cracked or severely damaged, or if the jets are irreparably clogged, replacement is often the best option. - Q: Can I use ultrasonic cleaners for carburetors?
A: Yes, ultrasonic cleaners are highly effective for cleaning carburetors, but they require specialized equipment and knowledge. - Q: What is the purpose of the float in the carburetor?
A: The float regulates the fuel level in the float bowl, ensuring a consistent fuel supply to the engine. - Q: How do I adjust the air/fuel mixture on my carburetor?
A: Refer to your engine’s service manual for specific instructions on adjusting the air/fuel mixture.
Conclusion
Mastering how to clean a carburetor small engine is a valuable skill for any small engine owner. By following the steps outlined in this guide, you can restore your engine’s performance, improve fuel efficiency, and extend its lifespan. Remember to use high-quality tools and materials, and to practice preventative maintenance to keep your carburetor clean. With a little effort, you can keep your small engine running smoothly for years to come. We’ve shared our experience and expert knowledge to empower you to tackle this task confidently. Share your experiences with how to clean a carburetor small engine in the comments below!
