Repairing an Acrylic Bath: A Comprehensive Guide to Restoring Your Tub
Are you facing unsightly cracks, chips, or scratches on your acrylic bath? Don’t despair! This comprehensive guide will equip you with the knowledge and techniques to confidently tackle the task of repairing an acrylic bath, saving you potentially hundreds or even thousands of dollars compared to replacement. We’ll delve into everything from identifying the damage to selecting the right repair materials and executing a flawless finish. This isn’t just a quick fix; it’s a journey into understanding the nuances of acrylic repair, ensuring a long-lasting and aesthetically pleasing result. Whether you’re a seasoned DIY enthusiast or a complete novice, this guide will provide the expertise you need to restore your acrylic bath to its former glory. Our commitment is to provide you with the most accurate, up-to-date, and practical information available, drawing on years of experience and expert insights in the field of bathroom renovation and repair.
Understanding Acrylic Baths and Damage
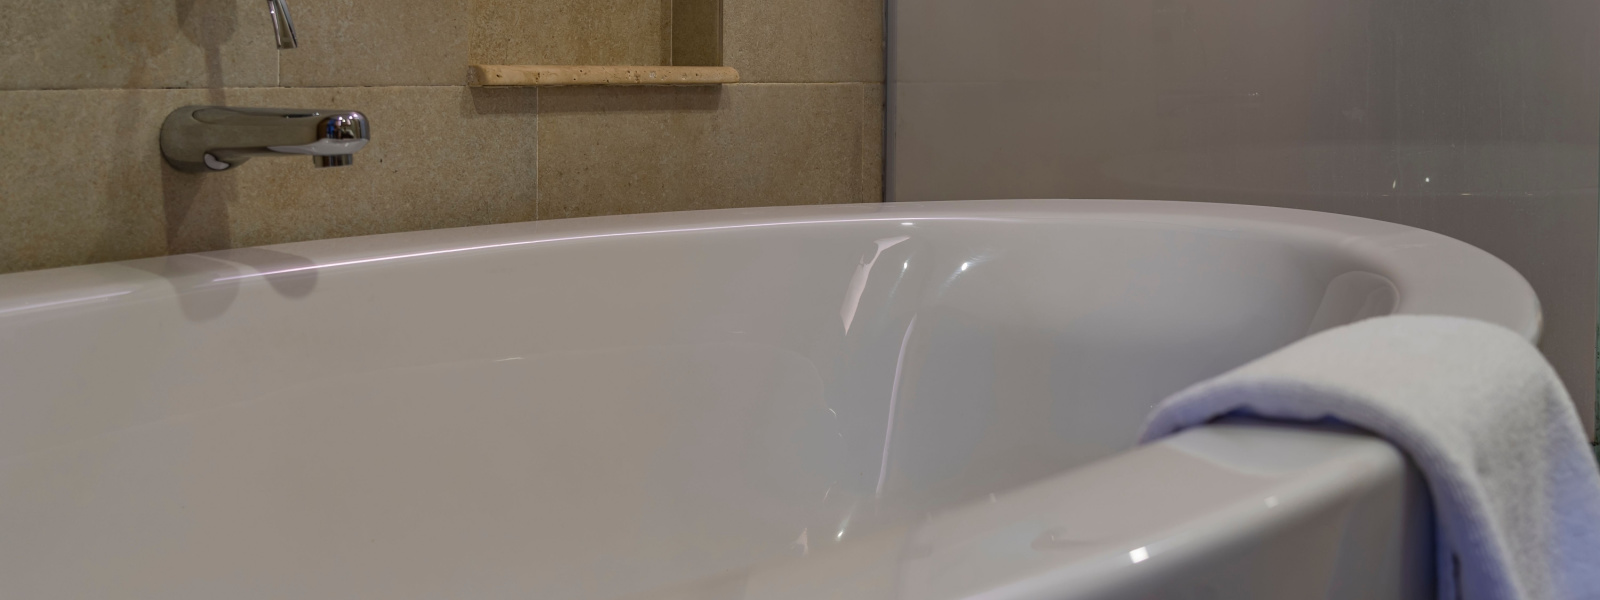
Acrylic baths have become a popular choice for homeowners due to their affordability, lightweight nature, and design versatility. Unlike traditional cast iron or steel tubs, acrylic baths are made from sheets of acrylic that are vacuum-formed and then reinforced with fiberglass. This construction method allows for a wide range of shapes, sizes, and features. However, acrylic is a relatively soft material, making it susceptible to certain types of damage.
Types of Damage to Acrylic Baths
* **Scratches:** These are superficial marks on the surface of the acrylic, often caused by abrasive cleaners, sharp objects, or everyday wear and tear.
* **Chips:** Chips are small pieces of acrylic that have broken off, usually due to impact from dropped items.
* **Cracks:** Cracks can range from hairline fractures to more significant splits in the acrylic. They can be caused by stress, impact, or temperature fluctuations.
* **Stains:** Acrylic can be stained by certain chemicals, dyes, or minerals in the water.
* **Fading/Discoloration:** Over time, acrylic can fade or discolor due to exposure to sunlight or harsh chemicals.
Assessing the Damage: Is Repairing an Acrylic Bath Possible?
Before you begin any repair work, it’s crucial to assess the extent of the damage. Minor scratches and chips are typically easy to repair. However, more significant cracks or structural damage may require professional attention. A good rule of thumb is that if the crack is deep enough to flex noticeably when pressed, or if it extends over a large area, it’s best to consult with a qualified repair technician. Also, consider the location of the damage. Repairs to areas that are frequently exposed to water and stress, such as the drain or overflow, may be more prone to failure.
Essential Tools and Materials for Repairing an Acrylic Bath
Successfully repairing an acrylic bath requires the right tools and materials. Investing in quality products will not only make the job easier but also ensure a more durable and aesthetically pleasing result. Here’s a comprehensive list of what you’ll need:
* **Acrylic Repair Kit:** This is the foundation of your repair. Look for a kit specifically designed for acrylic baths. These kits typically include:
* Acrylic filler or resin: This is the primary material used to fill in cracks and chips.
* Hardener: This is mixed with the filler to initiate the curing process.
* Color pigments: These are used to match the color of your bath.
* Applicator sticks or spatulas: For mixing and applying the filler.
* Sandpaper (various grits): For smoothing and blending the repair.
* Polishing compound: For restoring the shine to the repaired area.
* Mixing cups or containers: For accurately measuring and mixing the filler and hardener.
* **Cleaning Supplies:**
* Mild dish soap: For cleaning the area before and after the repair.
* Isopropyl alcohol: For removing any residue or contaminants.
* Clean cloths or paper towels: For wiping and cleaning.
* **Safety Gear:**
* Gloves: To protect your hands from chemicals and abrasives.
* Dust mask: To prevent inhalation of dust particles during sanding.
* Eye protection: To protect your eyes from splashes and debris.
* **Tools:**
* Heat gun or hairdryer (optional): To speed up the curing process.
* Razor blade or utility knife: For trimming excess filler.
* Mixing sticks: For proper mixing of the repair compound.
* Soft cloths: For buffing and polishing.
Step-by-Step Guide to Repairing Scratches on an Acrylic Bath
Minor scratches are the most common type of damage to acrylic baths, and they’re also the easiest to repair. Here’s a step-by-step guide to restoring your bath’s smooth surface:
1. **Clean the Area:** Thoroughly clean the scratched area with mild dish soap and water. Rinse well and dry with a clean cloth. Then, wipe the area with isopropyl alcohol to remove any remaining residue.
2. **Sand the Scratch:** Use fine-grit sandpaper (e.g., 600-grit) to gently sand the scratch. Sand in a circular motion, being careful not to apply too much pressure. The goal is to smooth the edges of the scratch and create a slightly roughened surface for the polishing compound to adhere to.
3. **Apply Polishing Compound:** Apply a small amount of polishing compound to a clean, soft cloth. Rub the compound onto the scratched area in a circular motion, applying moderate pressure. Continue polishing until the scratch is no longer visible.
4. **Buff the Area:** Use a clean, dry cloth to buff the polished area. This will remove any remaining polishing compound and restore the shine to the acrylic.
5. **Repeat if Necessary:** If the scratch is still visible after the first application of polishing compound, repeat steps 3 and 4.
Repairing Chips and Cracks in an Acrylic Bath: A Detailed Process
Repairing chips and cracks in an acrylic bath requires a more involved process than repairing scratches. Here’s a detailed guide to achieving a professional-looking repair:
1. **Prepare the Area:** Clean the damaged area thoroughly with mild dish soap and water. Rinse well and dry with a clean cloth. Use a razor blade or utility knife to carefully remove any loose or flaking pieces of acrylic from the chip or crack.
2. **Sand the Edges:** Use medium-grit sandpaper (e.g., 320-grit) to sand the edges of the chip or crack. This will create a slightly beveled edge, which will help the filler adhere better.
3. **Clean Again:** Wipe the area with isopropyl alcohol to remove any sanding dust or residue.
4. **Mix the Filler:** Following the instructions on your acrylic repair kit, mix the acrylic filler or resin with the hardener. Add color pigments as needed to match the color of your bath. Mix thoroughly until the filler is a smooth, consistent color.
5. **Apply the Filler:** Use an applicator stick or spatula to carefully apply the filler to the chip or crack. Overfill the area slightly, as the filler will shrink slightly as it cures.
6. **Cure the Filler:** Allow the filler to cure according to the instructions on your repair kit. This may take several hours or even overnight. A heat gun or hairdryer can be used to speed up the curing process, but be careful not to overheat the filler.
7. **Sand the Filler:** Once the filler is completely cured, use coarse-grit sandpaper (e.g., 180-grit) to sand down the excess filler. Gradually move to finer grits (e.g., 320-grit, 600-grit) to smooth the surface and blend it with the surrounding acrylic. Be careful not to sand too much, as this can damage the surrounding acrylic.
8. **Polish the Area:** Apply polishing compound to a clean, soft cloth and rub it onto the repaired area in a circular motion. Continue polishing until the repaired area is smooth and shiny.
9. **Buff the Area:** Use a clean, dry cloth to buff the polished area.
Advanced Techniques for Complex Acrylic Bath Repairs
For more complex repairs, such as large cracks or damage in high-stress areas, consider these advanced techniques:
* **Fiberglass Reinforcement:** For cracks that extend through the acrylic and into the fiberglass backing, consider using fiberglass cloth and resin to reinforce the repair. This will add strength and prevent the crack from reoccurring.
* **Backing Support:** For large chips or holes, create a backing support using a piece of plastic or metal mesh. This will provide a solid base for the filler to adhere to and prevent it from sagging.
* **Color Matching Expertise:** Getting the color match perfect is crucial for an invisible repair. If your repair kit doesn’t provide an exact match, consider consulting with a paint specialist who can custom-mix a color to match your bath.
Preventing Future Damage to Your Acrylic Bath
Once you’ve successfully repaired your acrylic bath, it’s essential to take steps to prevent future damage. Here are some tips:
* **Use Non-Abrasive Cleaners:** Avoid using abrasive cleaners, scouring pads, or harsh chemicals on your acrylic bath. These can scratch and dull the surface.
* **Protect from Impact:** Be careful not to drop heavy or sharp objects into the bath. Consider using a bath mat or liner to protect the surface.
* **Avoid Extreme Temperatures:** Avoid exposing your acrylic bath to extreme temperature fluctuations. This can cause stress and cracking.
* **Regular Cleaning:** Clean your acrylic bath regularly with mild dish soap and water to prevent stains and buildup.
Leading Acrylic Bath Repair Products: A Comparative Overview
While many acrylic repair kits are available, some stand out for their quality, ease of use, and durability. Here’s a comparative overview of some leading products:
* **3M Acrylic Repair Kit:** Known for its high-quality filler and easy-to-use applicator.
* **MagicEzy Bath and Tile Repair Kit:** Offers a wide range of color options and a durable, waterproof finish.
* **Permatex Bath and Kitchen Repair Kit:** A cost-effective option for minor repairs.
*It is important to follow safety guidelines when using these products. Always use in a well ventilated area and wear appropriate safety gear.*
Advantages of Repairing an Acrylic Bath
Repairing an acrylic bath offers several significant advantages over replacement:
* **Cost Savings:** Repairing is significantly cheaper than replacing an entire bath.
* **Time Savings:** Repairing can be completed in a matter of hours, while replacement can take several days.
* **Convenience:** Repairing avoids the disruption and mess of a full bathroom renovation.
* **Environmental Benefits:** Repairing reduces waste and conserves resources.
Disadvantages of Repairing an Acrylic Bath
While repairing an acrylic bath offers many advantages, it’s important to be aware of the potential drawbacks:
* **Repair May Not Be Invisible:** Depending on the extent of the damage and your skill level, the repair may not be completely invisible.
* **Durability Concerns:** Repairs may not be as durable as the original acrylic and may require future maintenance.
* **Limited Scope:** Some types of damage, such as structural cracks, may not be repairable.
Expert Review: Is Repairing an Acrylic Bath Worth It?
In our expert opinion, repairing an acrylic bath is almost always worth considering, especially for minor damage. The cost and time savings are significant, and with the right tools and techniques, you can achieve a professional-looking result. However, it’s important to be realistic about your skill level and the extent of the damage. If you’re unsure whether you can handle the repair yourself, it’s best to consult with a qualified repair technician. We’ve found that even a professionally done repair is far more economical than replacing the entire fixture. The ideal user for a DIY repair is someone with some basic handyman skills, patience, and attention to detail. Those with more complex damage or lacking in confidence should seek professional assistance. Alternatives include bath liners or refinishing, but these are generally more expensive than a simple repair kit.
Q&A: Expert Answers to Your Acrylic Bath Repair Questions
Here are some frequently asked questions about repairing an acrylic bath:
1. **Q: How do I match the color of my bath exactly?**
*A: The best approach is to use the color pigments provided in the repair kit and carefully mix them until you achieve a close match. Test the color on a small, inconspicuous area before applying it to the damaged area. If you can’t get an exact match, consider consulting with a paint specialist.*
2. **Q: Can I use epoxy instead of acrylic filler?**
*A: While epoxy can be used, it’s not the ideal choice for repairing acrylic baths. Epoxy is harder and less flexible than acrylic, which can lead to cracking over time. Acrylic filler is specifically designed to bond with acrylic and provide a more durable and flexible repair.*
3. **Q: How long will the repair last?**
*A: The longevity of the repair depends on the quality of the materials used, the skill of the person performing the repair, and the type of damage. A well-executed repair using high-quality materials can last for several years.*
4. **Q: Can I repair a crack that goes all the way through the acrylic?**
*A: Yes, but it requires additional reinforcement. Use fiberglass cloth and resin to reinforce the repair from the back side of the bath. This will add strength and prevent the crack from reoccurring.*
5. **Q: How do I prevent the repair from looking noticeable?**
*A: The key is to blend the repaired area seamlessly with the surrounding acrylic. This requires careful sanding and polishing. Use progressively finer grits of sandpaper and take your time. Also, ensure that the color match is as close as possible.*
6. **Q: Is it safe to use a repaired bath?**
*A: Yes, as long as the repair is done properly and the materials used are non-toxic and waterproof. Ensure that the repaired area is completely sealed to prevent water from seeping underneath.*
7. **Q: Can I repair a textured acrylic bath?**
*A: Repairing a textured acrylic bath can be more challenging, as it’s difficult to replicate the texture. However, you can use a textured paint or coating to try to match the surrounding area.*
8. **Q: What if the repair fails?**
*A: If the repair fails, you can try redoing it using the same or different techniques. If the damage is too extensive or the repair is unsuccessful, you may need to consider professional repair or replacement.*
9. **Q: Where can I find reliable information about acrylic bath repair?**
*A: Consult with reputable online resources, home improvement stores, or qualified repair technicians. Look for sources that provide detailed instructions, clear explanations, and unbiased advice.*
10. **Q: Are there any long-term maintenance considerations for repaired acrylic baths?**
*A: Periodically inspect the repaired area for any signs of cracking or peeling. Clean the area regularly with mild soap and water. Avoid using abrasive cleaners or harsh chemicals.*
Conclusion: Restoring Your Acrylic Bath with Confidence
Repairing an acrylic bath is a worthwhile endeavor that can save you time, money, and the hassle of a full bathroom renovation. By understanding the types of damage, selecting the right tools and materials, and following our detailed step-by-step guide, you can confidently restore your bath to its former glory. Remember to prioritize safety, take your time, and pay attention to detail. With a little patience and effort, you can achieve a professional-looking repair that will last for years to come. We encourage you to share your experiences with repairing an acrylic bath in the comments below. If you are considering further renovations, contact our experts for a consultation on repairing an acrylic bath, we can help you decide the best course of action.
